Jun 23, 2015

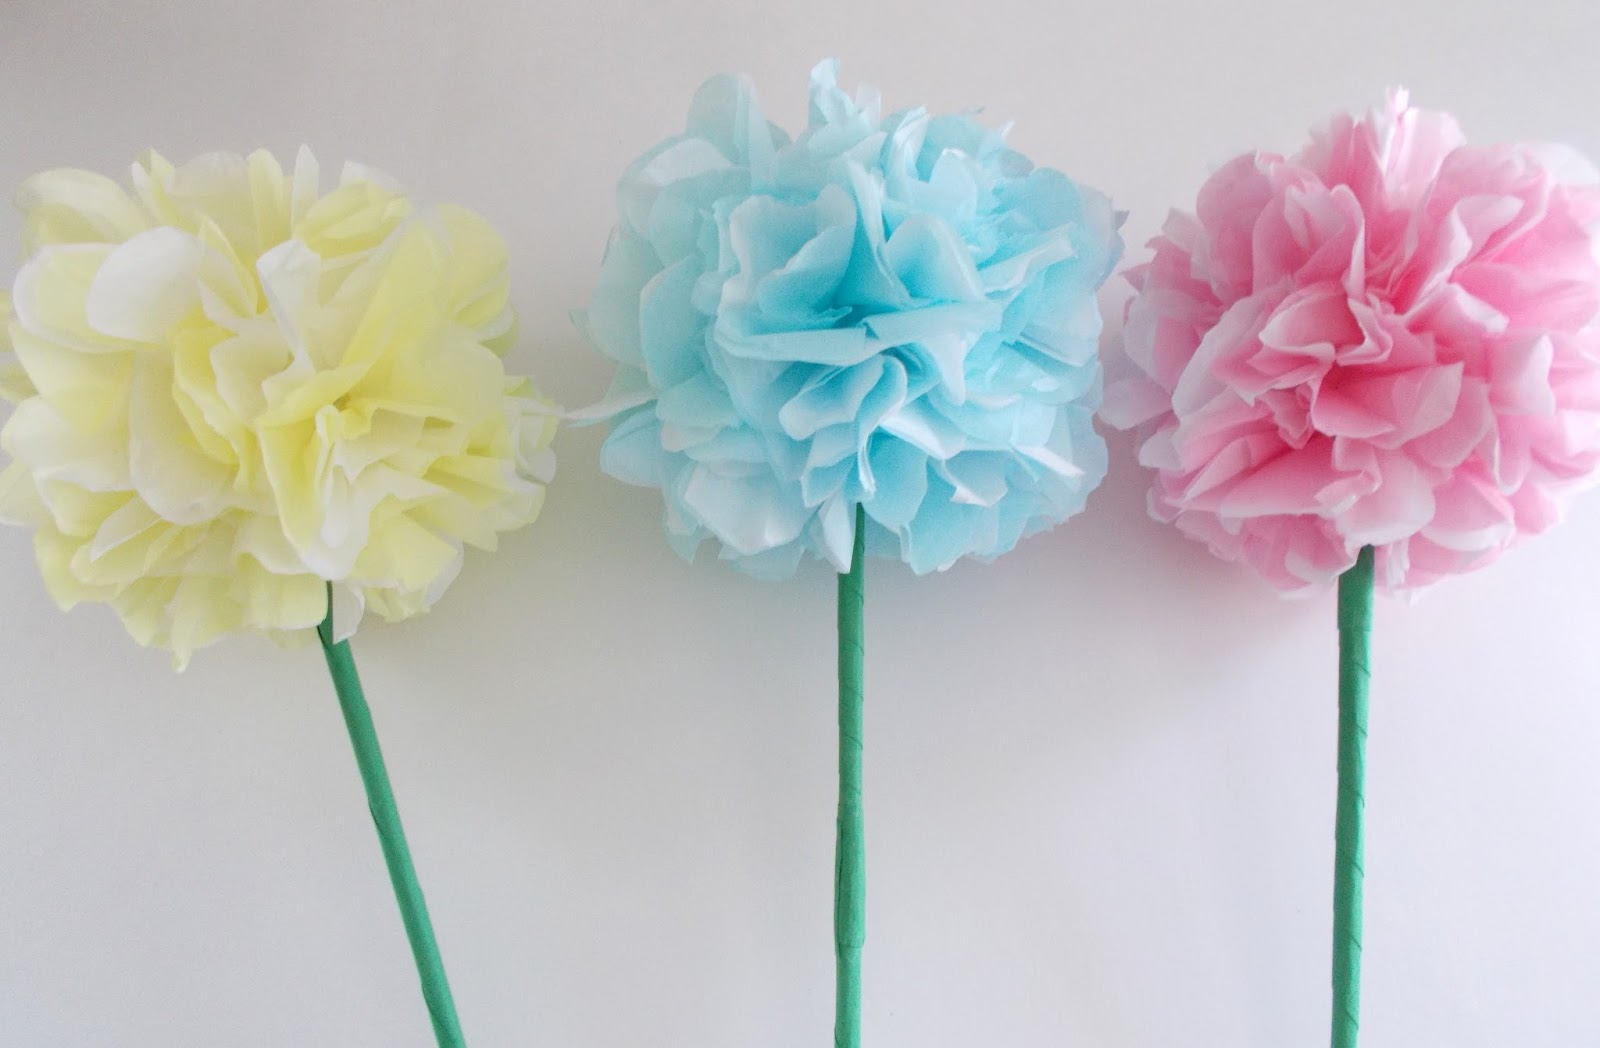
How to Make a Hydrangea Flower


Hi Everyone!  

Today's Tutorial is how to make a hydrangea flower.  These are great for parties, baby showers, and weddings.  The flowers are very easy and inexpensive to make.  Step by step picture instructions are below along with the tutorial video for this simple project.

Happy Crafting, Chan 


Supplies List

Green Paper for the stem 2 inches by 11 inches
Skewer stick for rolling the stem 
Tacky Glue 
Notebook Paper for the ball of the flower
Two sheets of colored tissue paper 
Two sheets of white tissue paper
Pen for applying the petals to the flower

Roll your stem for the flower.  I am using a skewer stick to assist with this process.

A sheet of notebook paper will form the base of the flower.  
Ball the paper into a ball. 
Add Tacky Glue to the center of the ball.  
Make sure you use enough to hold the green stem.
Place green stem into notebook paper where the tacky glue is and press sides together.  
Wrap ball with a small piece of tissue paper and seal off.  
Take One piece of white and one piece of colored tissue paper

Fold white and blue tissue paper together back and forth accordion style.  Measure out 2 1/2 inches for each fold.

Use Pen to glue flowers to the ball.  Make sure the colored tissue paper is facing you. 


Recommended Blog Posts:  


Jun 21, 2015

Jun 13, 2015

Jun 9, 2015

May 25, 2015

how to make paper hyacinths


Start rolling the stem.  Here I am using a wooden skewer to help with this process.  
Take the 2 x 3 inch piece of green paper and fold in accordion style the long way.  
It should look something like this when you're done folding.
put the accordion piece back together.

Take scissors and cut one side diagonal to form a point.  

Flip it over and cut the other side the same way.

You should have this when you are done.
Time to make the flower.  Take the colored paper and fold one edge down by 1/4 inch
Open the fold up so that you can see the crease, then fold it in half the other way as shown here.
Cut 1/4 inch strips across the paper.  Be sure not to go pass the crease at the upper edge.  
Take the cotton swab and roll each of the strips up to the crease.
Turn the paper so the curls are facing down.  Then add tacky glue down the side as seen here.
Wrap the flower around the stem as shown here. Make sure the curls are point up.  

Take the leaves and put glue on them as shown here.
Glue leaves to the stem.  
Finished Project

May 11, 2015

Father's Day Card DIY


It's almost time for Father's Day!  This year Father's Day is June 21.  I saw an excellent video put out by LifeStyleBri on YouTube and I was inspired to make this project.  To make it different, I added a suitcase on the top of the card.  I used blue and beige for my color scheme because they are nice neutral colors for a masculine themed card.  I will be posting more video about Father's Day in the near future.  

God bless, Chan 

Blue neck ties give a nice pop of color to this Easy Fathers Day Card

The phrase "Happy Fathers Day" leaves plenty of  room for the entire family to sign their names.  

The suitcase was added to modify the original design by LifeStyleBri Fathers Day Card Tutorial.


Social Media Links: 


Email:  Chan4Crafts@gmail.com

Recommended Posts:  

Check out my post on Masculine Themed Valentine's Day Cards.  That can easily be modified to fit a Father's Day Card.