Dec 18, 2011

Dec 4, 2011

Mixed Media Painting

I just finished another mixed media painting using the color complimentary scheme of yellow and purple.  Yellow and purple are opposite each other on the color wheel.  For this piece I used several different media including acrylic paint, scrapbook paper, clear acrylic beads, graphic pencils, colored pencils, and sparkly glue.


Nov 27, 2011

Wedding Cake Replica From Cardboard Spools

I had some old cardboard spools laying around the house.  I decided to turn them into a little wedding cake replica.  All you need is cardboard spools, paint, sparkly glue, paper flowers, little decorative pearls, q tips or straws, decoupage glue, paper glue, and hot glue.  This would be great for weddings.  This can even be changed and used for birthdays or holidays.  It was very easy to make and very inexpensive also.


Nov 24, 2011

Video Mixed Media Art Painting Disco Mama


This is a Mixed Media piece that I did last week.  It was made up of scraps from other projects that I had not finished.  The Face I drew for another project and the eyes I cut off another picture I had drawn.  The flowers were scraps and so was the canvas and the background.  I never throw my scraps away because there is always something I can use it for.


Nov 4, 2011

Mixed Media Art Decoupage Scrapbook Paper Drawing and Painting

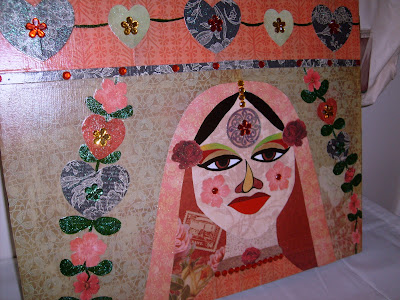
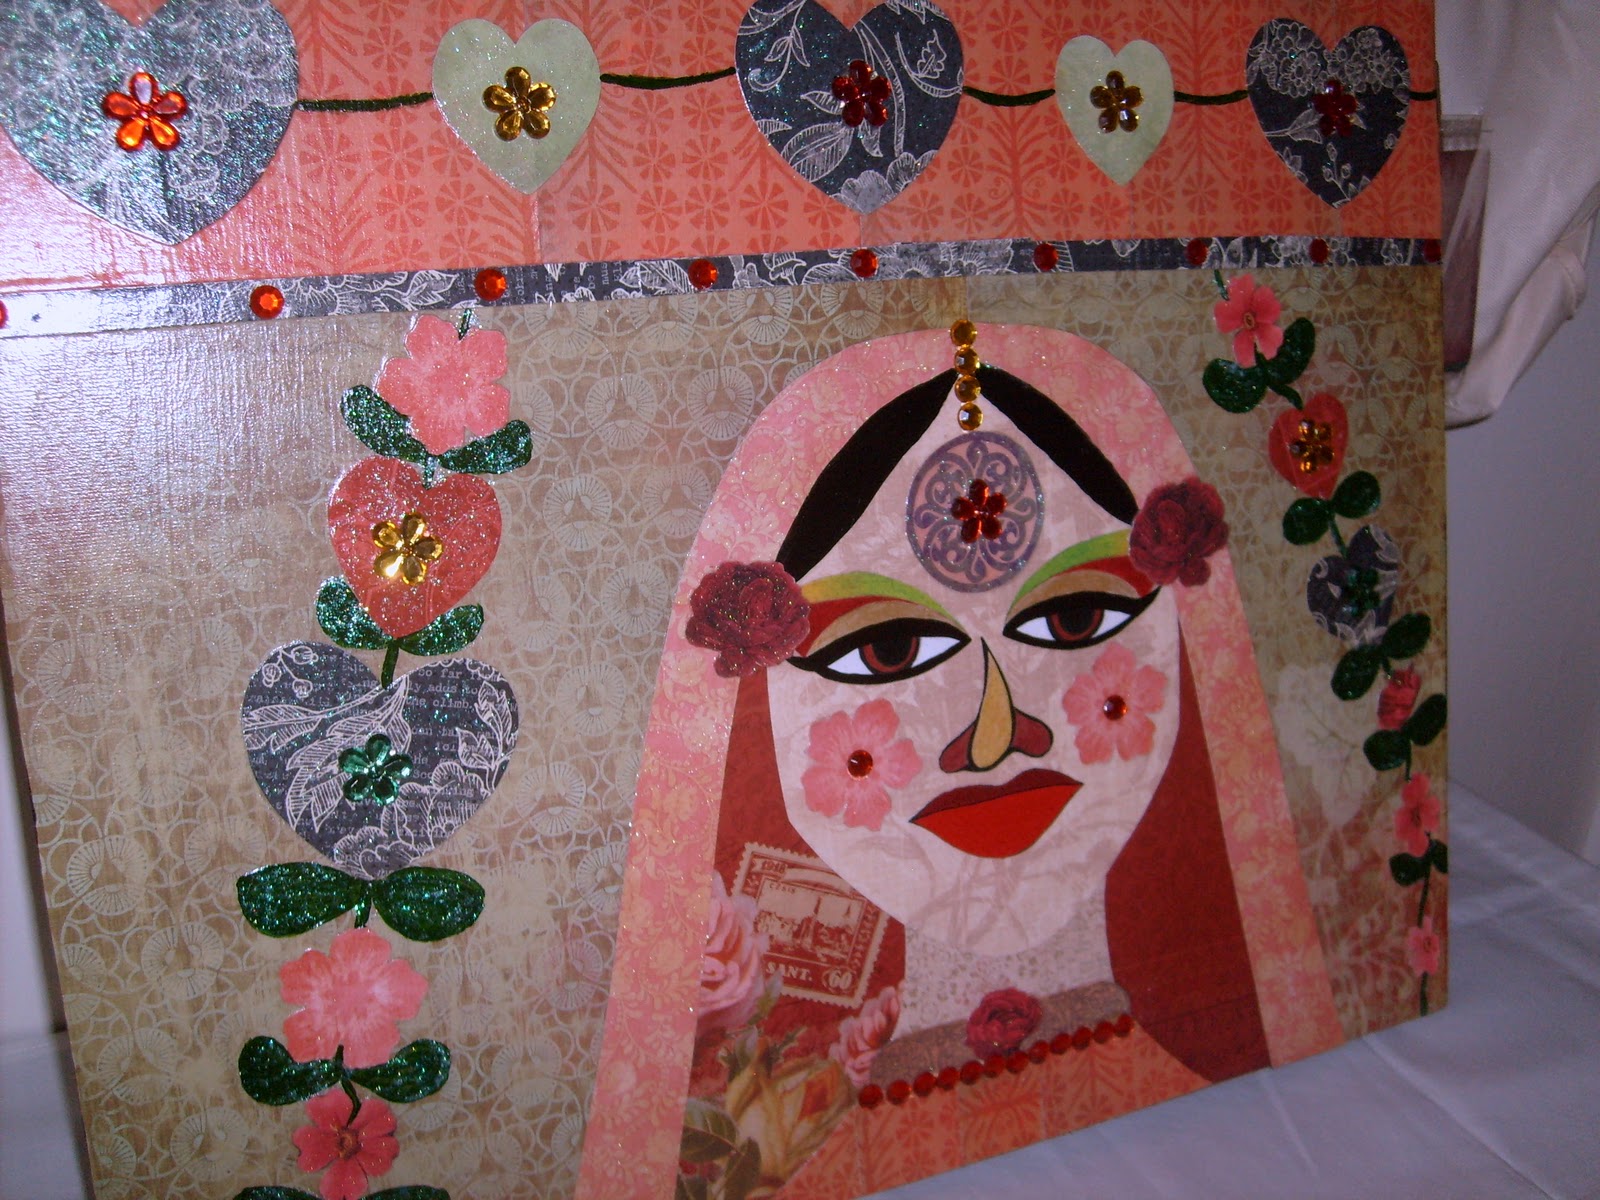
Create a mixed media piece of artwork!  All you need is a canvas, scrapbook paper, decoupage glue, acryclic paint, beads, and sparkly glue!!

What is decoupaging?  Its the place where artwork and scrapbooking come together!  Also, this is when you glue paper to either canvas, wood, cardboard, or other objects then you add another layer of glue over the the cutout to seal it to the piece.  In the past, artists have used lacquer for decoupaging.   Because of the high expense of lacquer, decoupaged pieces were once reserved for the rich and affluent.   These days, there are many glues on the market that can be used for this art form.  Usually your local arts and crafts stores like Michaels and JoAnns will have it along with many large retailers like Walmart.

Decoupaging is said to have originated either Japan, India, or China.  In the 1600s, it was being used in European countries like England and Italy.  The earlier decoupaging artwork usually had a Biblical theme.
In my arts and crafts projects, I have found that decoupaging has expanded my art.  Once I only used paints and colored pencils.  Now I can use almost anything that I want as along as I can glue it down.  I believe decoupaging this is one of the main things that has led to the rise of the Mixed Media art form.  This really expands your horizons and helps you find even more channels to explore for your art canvas.

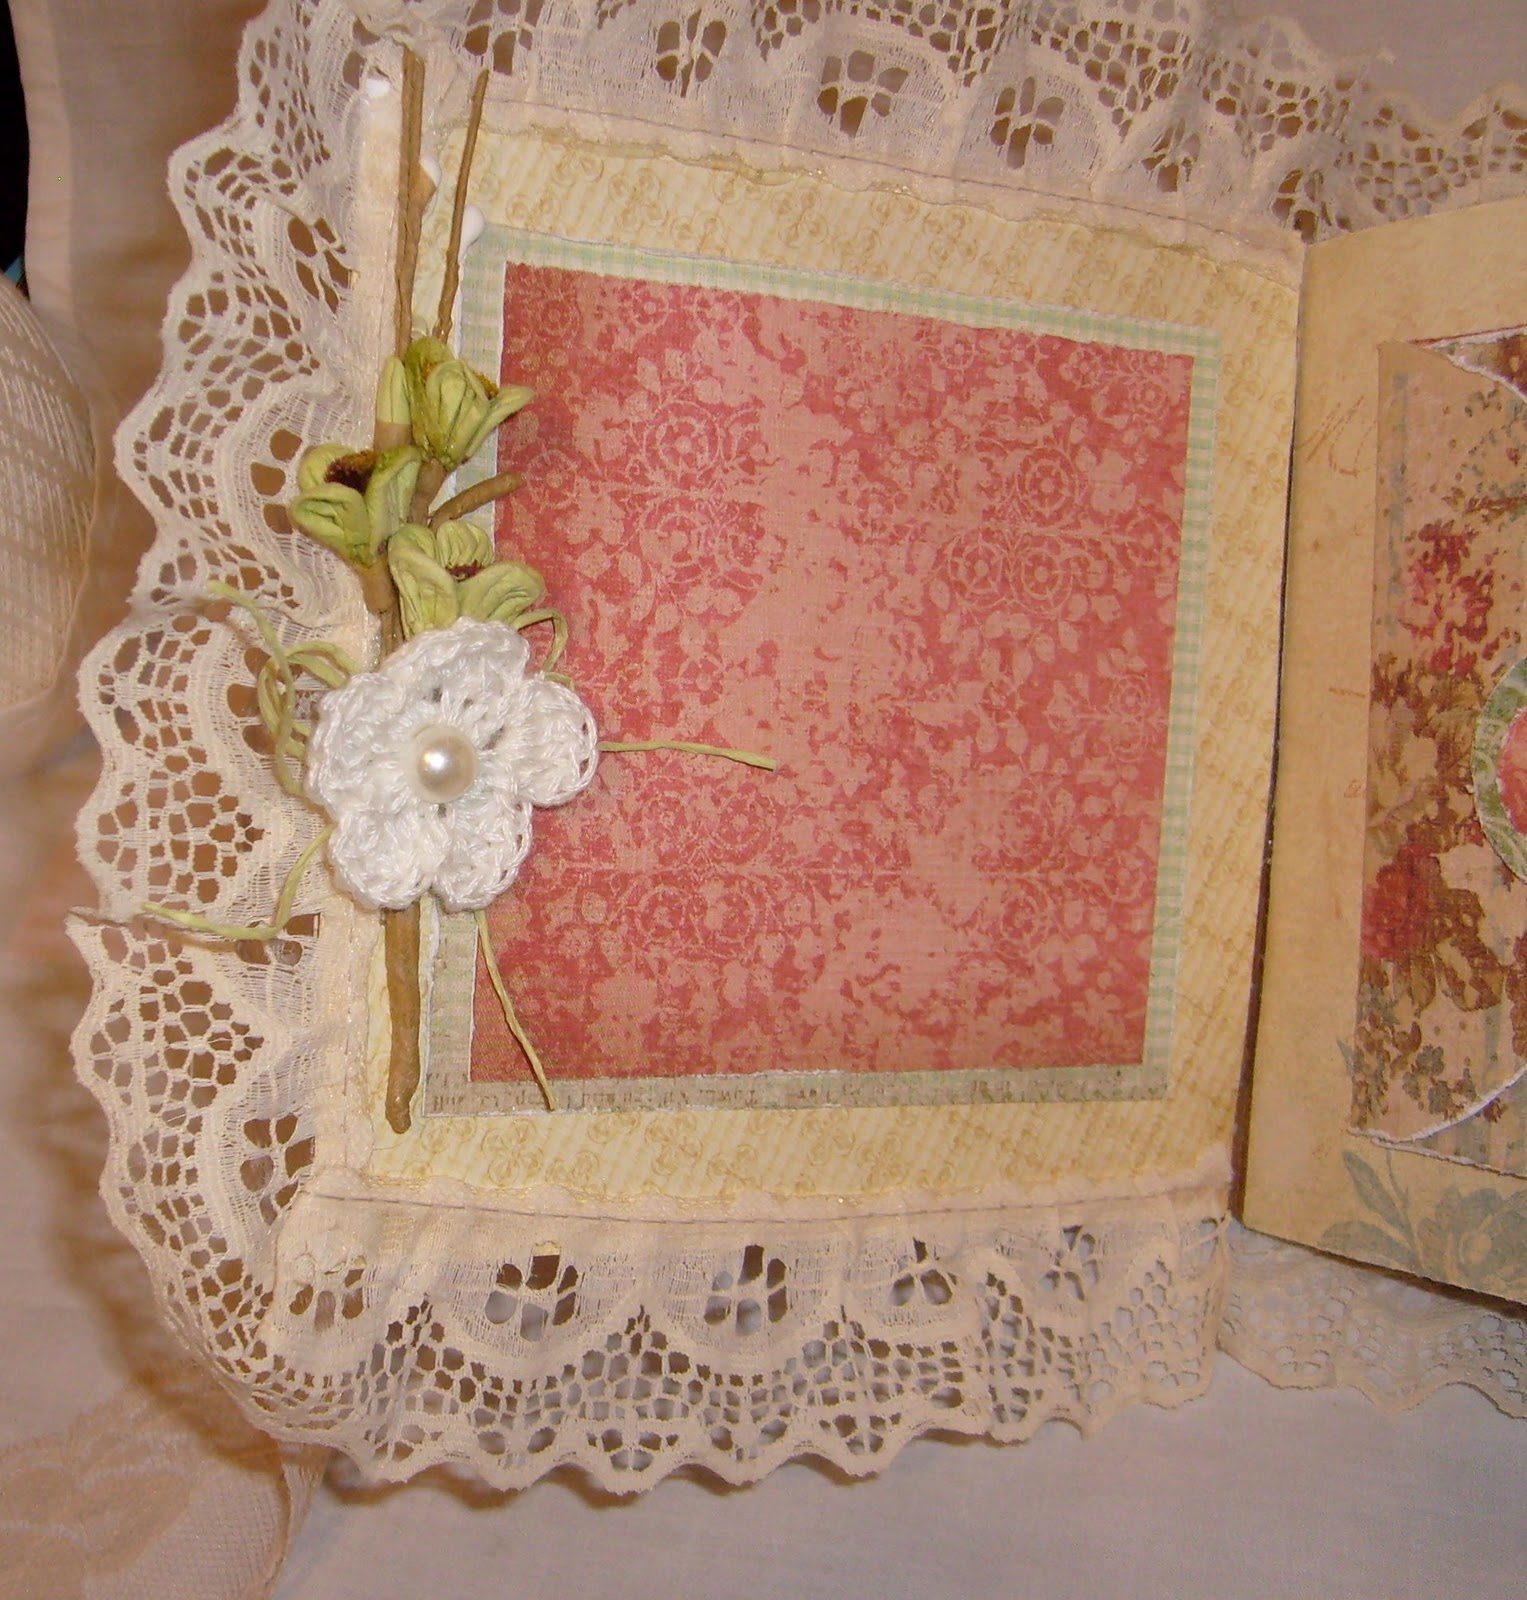
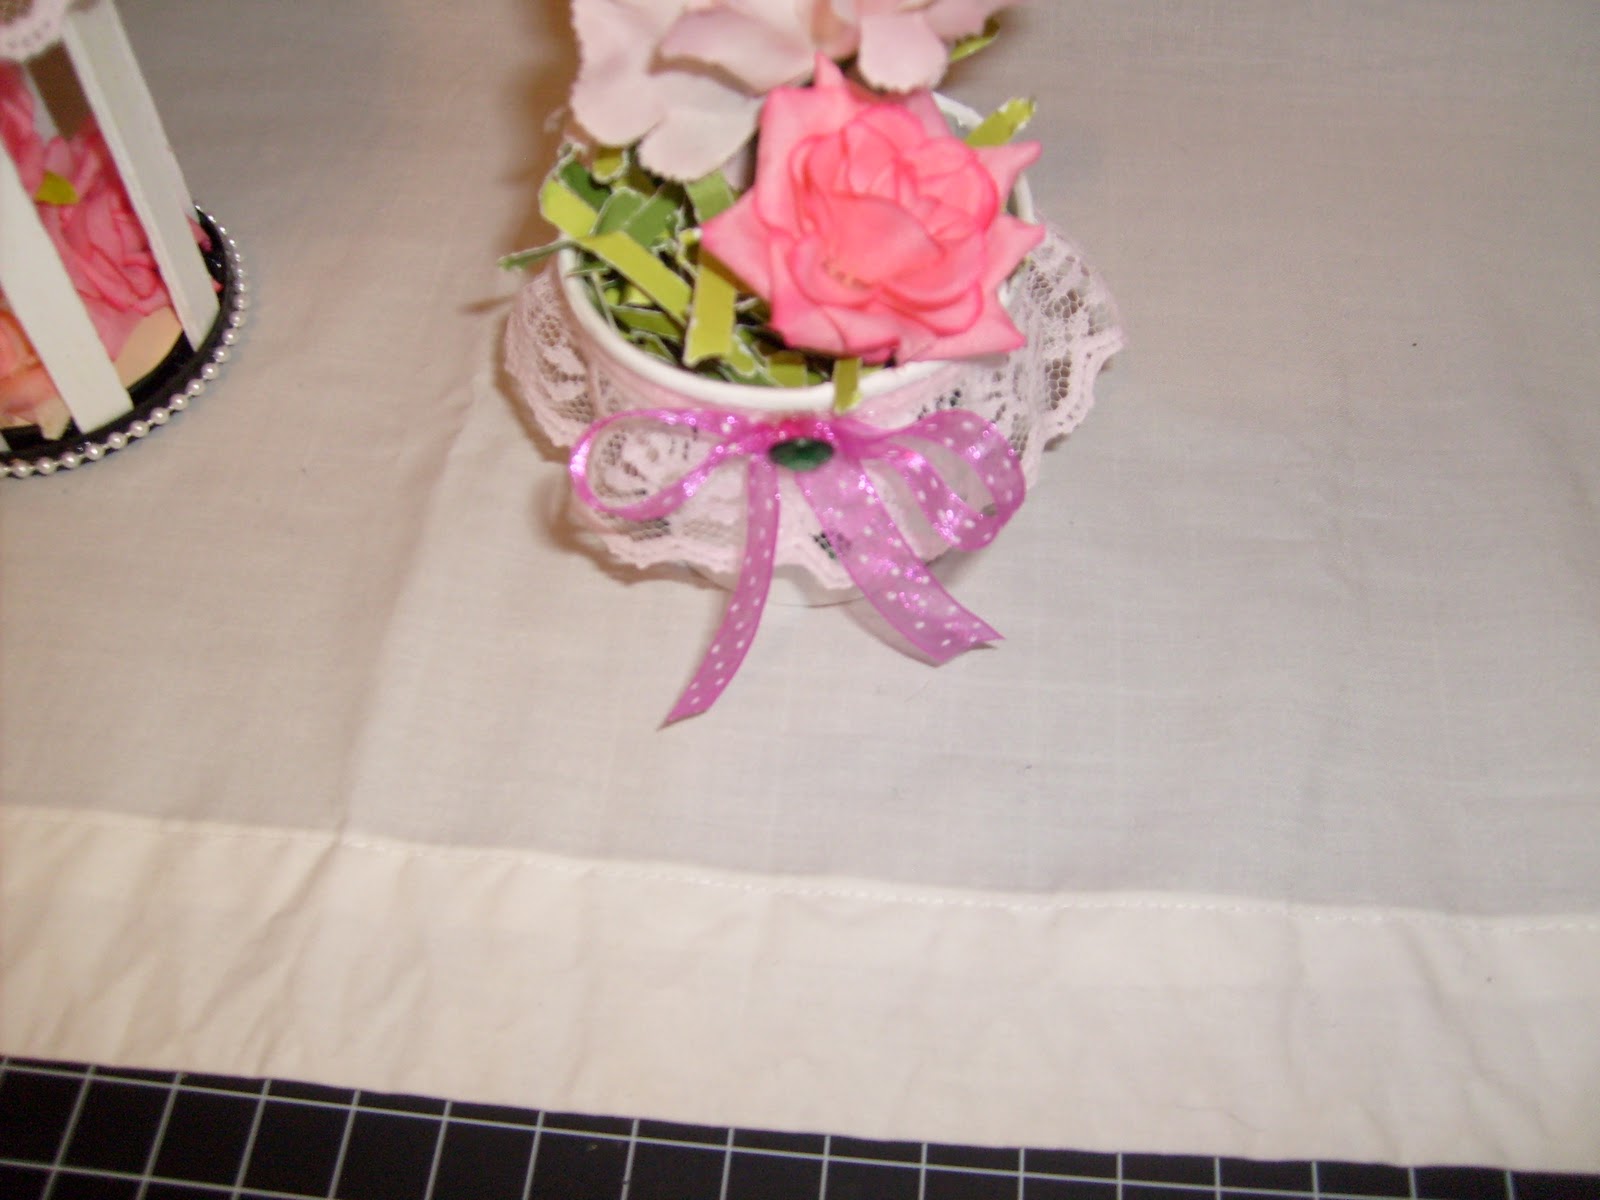
In the arts and crafts field, many scrappers have being using decoupaging in their scrapbooks and on their tags.  I have also seen craft artists using scrapbook paper to decorate table tops, dressers, boxes, picture frames, and other items.  Decoupaging can breathe new life into and old item.

Decoupaging is also a great way to recycle old newspapers and scraps of paper that you have around the house.  You can cut them into little hearts or flowers and decoupage them on something.   Some other items that you can use for decoupaging are fabric, lace, magazines, fliers, ads, catalogs, old greeting cards, clip-art,  gift wrapping paper, and scrapbooking paper.


Oct 29, 2011

Altered Picture Frame

Make a picture display frame out of cardboard.  All you need is 3 sided piece of cardboard, scrapbook paper of your choice, paper roses, ribbon, paper glue, hot glue, and buttons of your choice.  This would be a great way to use up scraps that you have leftover in your supply.

I painted the edges of the scrapbook a creamy beige because I didn't want the cardboard to show through on the edges.  I thought the beige matched the scrap paper I used for this project.  I also covered the back the piece with a light pink scrap paper.  After that I decorated the piece with ribbon, butterflies, buttons, and paper roses.

This project would make a great gift for baby showers, birthdays, mother's day, and other  holidays.  There is room for 3 pictures.  You can even use one of the sections for journaling as well.  I made this for free because I already had all the items in my studio.


Oct 20, 2011

Scrapbooking Tag Display

After I finished my last scrapbooking project, I discovered that I had a substantial amount of scraps left over.  I came up with an arts and crafts idea for a Tag Display.  This would make a great gift.  It's also great for a families because each person could have their own tag.  You can use this in your office or kitchen as well for a place to put little recipes or favorite quote, scriptures, or poems.  This can also be customized because you can use any color of paper.  However, I do recommend double sided scrapbook paper for this project because of the folding technique that is being used here.


Oct 16, 2011

A Scrapbook of Roses

Hi Everyone!

I just completed another scrapbook.  The theme I chose for this one is roses.  I love roses and flowers.  Each page had flowers on them.  I used shabby chic scrapbook paper to give it a vintage look and feel.  I also added cream colored floral lace to decorate the scrapbook.  I used cream colored paper roses to accentuate the binding on the book.

This was a 6 x 6 paper bag mini using a sewn paper bag scrapbook album without holes. I found this to be a lot easier for me to use this style because I didn't have to stop and punch holes in the scrapbook paper.  This saved a lot of time.  I purchased these sewn scrapbooks from a seller on Ebay.  I'm very happy with them and I will be using them again in other projects.

For my tags, I made 4 extra large tags to use for pictures and journaling.  Since the scrapbook is relatively small, the extra large tags will add more storage room to the mini.  I also used some package tags in this project.  I stained them with tea stain to add a vintage and antique look.


Oct 12, 2011

Crafts Made from Ice Cream Cups

Make arts and crafts out of ice cream containers!  Use any small paper ice cream container.  Wash it out real good and let it dry for 48 hours.  The reason for this is that you want to let the water dry in the cracks before you paint or decorate the cup.

This was a suggestion from NaturalStrongHair on youtube.  She had recommended creating something out of ice cream containers.  I had never thought of the idea until she mentioned this.  I thought it was a great idea.
For this project, I used standard white paint.  I started off spray painting but that would've taken too many coats.  I  brushed on a coat of primer then added a coat of white paint.  This saved me a lot of time.  I decided to turn the cup into a little pink flower arrangement.  I decorated the outside with little green flat acrylic beads and I trimmed it with little pink lace.  I added a hot pink and white polka dot ribbon on the front.  I used packing peanuts for my flowers stems to stick into and hold them in place.  Then I shredded some green paper for my grass.

I wanted to do something with the tops.  I decided to make a little bird cage.  I had some popsicle sticks around the house.  I painted those white then added a coat of white sparkly to make them shimmer.  I decorated the cage with scrapbook paper, lace, and pink flowers.  I also used flowers inside the bird cage since I didn't have any birds to use.  To complete the project, I dressed it up with pearls.  I also used pearls and fashioned them into a bird cage loop at the top of the bird cage.

I really enjoyed this project.  It didn't cost me anything to make.  The ice cream cups were free!  I already had the flowers and embellishments in my scrapbooking supplies.