Oct 29, 2011

Altered Picture Frame

Make a picture display frame out of cardboard.  All you need is 3 sided piece of cardboard, scrapbook paper of your choice, paper roses, ribbon, paper glue, hot glue, and buttons of your choice.  This would be a great way to use up scraps that you have leftover in your supply.

I painted the edges of the scrapbook a creamy beige because I didn't want the cardboard to show through on the edges.  I thought the beige matched the scrap paper I used for this project.  I also covered the back the piece with a light pink scrap paper.  After that I decorated the piece with ribbon, butterflies, buttons, and paper roses.

This project would make a great gift for baby showers, birthdays, mother's day, and other  holidays.  There is room for 3 pictures.  You can even use one of the sections for journaling as well.  I made this for free because I already had all the items in my studio.


Oct 20, 2011

Scrapbooking Tag Display

After I finished my last scrapbooking project, I discovered that I had a substantial amount of scraps left over.  I came up with an arts and crafts idea for a Tag Display.  This would make a great gift.  It's also great for a families because each person could have their own tag.  You can use this in your office or kitchen as well for a place to put little recipes or favorite quote, scriptures, or poems.  This can also be customized because you can use any color of paper.  However, I do recommend double sided scrapbook paper for this project because of the folding technique that is being used here.


Oct 16, 2011

A Scrapbook of Roses

Hi Everyone!

I just completed another scrapbook.  The theme I chose for this one is roses.  I love roses and flowers.  Each page had flowers on them.  I used shabby chic scrapbook paper to give it a vintage look and feel.  I also added cream colored floral lace to decorate the scrapbook.  I used cream colored paper roses to accentuate the binding on the book.

This was a 6 x 6 paper bag mini using a sewn paper bag scrapbook album without holes. I found this to be a lot easier for me to use this style because I didn't have to stop and punch holes in the scrapbook paper.  This saved a lot of time.  I purchased these sewn scrapbooks from a seller on Ebay.  I'm very happy with them and I will be using them again in other projects.

For my tags, I made 4 extra large tags to use for pictures and journaling.  Since the scrapbook is relatively small, the extra large tags will add more storage room to the mini.  I also used some package tags in this project.  I stained them with tea stain to add a vintage and antique look.


Oct 12, 2011

Crafts Made from Ice Cream Cups

Make arts and crafts out of ice cream containers!  Use any small paper ice cream container.  Wash it out real good and let it dry for 48 hours.  The reason for this is that you want to let the water dry in the cracks before you paint or decorate the cup.

This was a suggestion from NaturalStrongHair on youtube.  She had recommended creating something out of ice cream containers.  I had never thought of the idea until she mentioned this.  I thought it was a great idea.
For this project, I used standard white paint.  I started off spray painting but that would've taken too many coats.  I  brushed on a coat of primer then added a coat of white paint.  This saved me a lot of time.  I decided to turn the cup into a little pink flower arrangement.  I decorated the outside with little green flat acrylic beads and I trimmed it with little pink lace.  I added a hot pink and white polka dot ribbon on the front.  I used packing peanuts for my flowers stems to stick into and hold them in place.  Then I shredded some green paper for my grass.

I wanted to do something with the tops.  I decided to make a little bird cage.  I had some popsicle sticks around the house.  I painted those white then added a coat of white sparkly to make them shimmer.  I decorated the cage with scrapbook paper, lace, and pink flowers.  I also used flowers inside the bird cage since I didn't have any birds to use.  To complete the project, I dressed it up with pearls.  I also used pearls and fashioned them into a bird cage loop at the top of the bird cage.

I really enjoyed this project.  It didn't cost me anything to make.  The ice cream cups were free!  I already had the flowers and embellishments in my scrapbooking supplies.


Oct 9, 2011

Scrapbook Journaling


Journaling has been done for hundreds of years. It has even preceded the art of scrap booking. Journaling is writing about a subject matter from your point of view. It can be about an event, your family, or even yourself. Journaling can stand alone, accompany a picture, or be included in a scrapbook. You can use journaling to explain something or to convey emotions about a particular topic.

One of the most popular forms of this art is the daily journal. Some people keep daily records of their thoughts, feelings, and emotions. Many have said the art of daily journaling is therapeutic. It helps them review the days events and provides them a snapshot of how the day went. Journaling can be used for personal reflection and improvement. Most of all, a daily journal can help you focus on what is most important in your life. It can be a crystal clear river where you can see the reflection of all the things you are grateful for in your world.

Another journaling form is the high school yearbook. In the yearbook, people leave their names and a brief message. They usually include little jokes along with their best wishes for the future. Artistic friends may even leave you a little picture or a poem. This is also journaling because they are leaving a historical record of themselves and their friendship with you inside your yearbook.

Personally, my favorite channel for this art form is scrapbook journaling. It's very fun and can add a special touch to your project. Write what you feel inside and let your passion take control. You can make that scrapbook come alive with words of love, excitement, and adventure. This a great way to include your favorite quotes or sayings. A beloved poem by your favorite poet would also add warmth and character to your project.

You can also take your journaling to the next level with special fonts. If you know calligraphy this would be a great place to display that particular writing style.  You can also use the fonts on your computer to print out messages and attach them to your scrapbook. Even if you use the computer for your messages, try to include a little bit of your own handwriting. It will help to personalize the scrapbook. Your descendants will be able to look back at it years after you're gone and say "Grandma wrote this!" Also don't worry to much about the quality of your handwriting because everyone is different. A lovely way to beautify handwriting is to put it on a slant. Instead of writing straight across, try writing across the page. This makes even chicken scratch look elegant!

Moreover, scrapbook journaling is a great way to convey feelings to someone long after you are gone. There may be things that you haven't said that you would like your loved ones to know at some point.  Scrapbook journaling can help you say some of those things. You can leave a message from beyond. Maybe write a letter and place it in your scrapbook for future reading. This is also a great way to pass along family history. You can include pictures and little known facts about your family.  Personally, I have no interest in my genealogy but I know that some of my descendants might be interested. For this reason, I am leaving tidbits of what I know in a little scrapbook for them. Like me, you can also leave behind a legacy with scrapbook journaling.

Oct 8, 2011

How to Buy Craft Supplies Cheap


I love Scrapbooking.  It's both enjoyable and fun.  However, scrapping can be very expensive unless you find ways to save money.  For all you scrappers out there, I will give you all my money saving secrets.  You can enjoying scrapbooking and still say on your budget.

The first secret is to visit your local Arts and Craft supply stores in your area.  If you don't have any locally, go online and view the Micheals and the JoAnn websites.  Get a good feel for what everything actually costs.   This very important because it is the first step to saving money on craft supplies.  How will you know if you're getting a deal if you don't know the regular retail prices?

My second secret to saving money on scrapbooking is to look around the house.  Newspapers, magazines, and old yarn make great scrapbook material.  I also love paper bags!  They are cheap and in many cases, they are free.  You can pick them up at your local grocery store.   I brought a whole set of 50 brown paper lunch bags for $1.92.  That comes to around 4 cent a bag.   You just can't beat that price!  A free way to get paper bags, is to save them from your visits to the Chinese restaurant.  Sometimes, you may not be able to do this.  Some restaurants, the food will leak into the bag.  However, my Chinese take out uses super tight containers and they rarely, if ever, leak into the bag.  I save them and use them for my mini scrapbook projects.

My third money saving secret is Ebay and Etsy!  You can save a lot of money on your scrapbooking supplies on Ebay as long as you do your research.  This is why I recommended that you visit your local arts and craft stores to get a good feel for what things actually cost.  When you visit ebay check out the wholesale lots.  You can find some excellent deals there.  However, be careful with the bidding.  Some of the new buyers on Ebay have a habit of running up the bids to the point where it's no longer a good deal.  Rather than bid on a hot item, select the watch feature and keep an eye on the item.  This is what I do.  Sometimes I win and sometimes I don't.  Another thing I do is check the Buy Now auctions.  I've actually found a ton of good deals there.  Ebay is a great place to save money if you know your prices. Be willing to walk away from an item if it's too much money, this way you will never overpay for anything.

On the same order of Ebay is a lesser known website called Etsy.  I love Etsy.  I have purchased several items from there.  Most of the items sold on Etsy are handmade and handcrafted items.  It's a great place to save money if you know your prices.   Be sure to use Paypal when buying from both Ebay and Etsy.  Paypal offers you a layer of protection that other forms of payment just don't offer.  Play it safe while you save money.

My fourth craft money saving secret is Thift Stores and Yard sales.  I've purchased many things this way for just pennies on the dollar.  What I like about thift stores and yard sales is the fact that you get to see exactly what you're getting before you buy.   You can buy yarn, ribbon, patterns, and craft books for a fraction of the retail cost.  You can find lovely wreaths, pictures, and wooden items.  Spruce them up with beads or flowers and it will look brand new!

My last money saving secret is Walmart and Dollar Tree.   Recently Walmart has started to sell scrapbooking supplies.  I've found scrapbooking paper stacks there for $5.  They also sell some stickers and other embellishments.  Check out the Dollar Tree too.  I've found flowers, paper, and embellishments at the Dollar Tree.  Every time I'm there, I stock up.  It's only a dollar so you can't wrong.  It'll be well worth your while to check them out also.

Scrapbooking can be very costly but there are many ways you can save money.  If you know your prices and you do a little searching, you can find everything you need.  Yes, you can enjoy scrapbooking without going broke.

Which is Better Joann or Michael's?

Oct 4, 2011

Apple Cake

Hi Everyone!

This is one of my favorite desert recipes.  I love it.  It actually reminds me of pineapple upside down cake except its with apples.

Here are the ingredients:


5 apples peeled and cut into chunks
Add 2 teaspoons of cinnamon
5 tablespoons of sugar

dry ingredients

2 cups of sugar
3 cups of flour
1 teaspoon of salt
1 tablespoon of baking powder

wet ingredients

1 cup of oil
1/4 cup of apple juice
4 eggs 
1 tablespoon of vanilla


First you want to grease down a cake pan of your choice.  A bundt cake pan is great for this recipe.  However, this will work with a bread loaf plan or a sheet cake plan as well.  First you want to take 5 peeled apples and cut them into chunks.  Then put the apple chunks into a bowl with 5 tablespoons of sugar and 2 teaspoons of cinnamon.

First, preheat your oven to 350 degrees.

In a bowl, take 2 cups of sugar, 3 cups of flour, 1 teaspoon of salt, 1 tablespoon of baking powder.  You don't need baking soda if you are using self rising flour.  In another bowl mix 1 cup of oil with 1/4 cup of apple juice.  To that add 4 eggs and 1 tablespoon of vanilla.

Then mix your dry ingredients with your wet ingredients.   The batter will be very thick.

Take your cake pan and pour half the batter into the plan.  Then put about half of the apples over the batter and then sprinkle on some raisins.  After that, pour the rest of the batter in the pan, and finish off the layer with the remaining apples and raisins.

Put your cake in the oven and bake at 350 degrees for 45 to an hour or until done.  You can test if its done by inserting a butter knife through the cake.  If it comes out clean, it is done.

Oct 2, 2011

How to Make a Junk Journal


You've got something in the mail and your head is telling you to throw it away. However, something inside of you wants to keep it around the house. Then again, you already have too many things. Since you hate clutter, you walk over to the trash can. Just before tossing it out, you look at it again. It's pretty, shiny, and you just love the colors. You just love your ephemera!

Ephemera is material that is usually thrown away. This would include things like movie ticket stubs, greeting cards, small catalogs, ads, newspaper articles, invitations, personal letters, recipes, invoices, stickers, and receipts. Most people would rather assign this stuff to the trash can but you see value in these items. You just need a way to file this stuff away neatly.

I have great news, you don't have to throw your ephemera away! Save it in a junk journal! A friend told had me about them. It's the latest craze in the scrap booking world. She has been saving things in her junk journal for over a year. She kept all her Christmas cards, movie ticket stubs, favorite articles, and a whole bunch of other things. I saw her junk journal and I decided to make one of my own.

First, get a little composition book. The same old ones you used when you were in school. Remember the little notebooks with the black and white spotted cover? They are perfect for junk journals. Make something to cover over the black and white spotted cover. You can use anything you'd like, but I am going to recommend using self sticking vinyl shelf paper or contact paper. Your junk journal will be handled many, many times and contact paper will hold up very well.

Now take each page and crumble it to the crease of the book. Then press it back down so that it is flat again. Be very careful not to tear the pages out. This may take a while. This might be good to do while you're watching TV or something. When you're finished, it will make your journal very thick and full.

Next, cut five strips of ribbon 28 inches long a piece. I have found that 28 inches is just long enough to make a tight knot without wasting any ribbon. Look at your composition book and divide it up into five sections. Then take one of the ribbons and fold it in half. Take one section from the book. Place the crease of the ribbon at the bottom of the junk journal. Take one side of the ribbon through the crease in the book and the other side of the ribbon around the outside of the book. Join the two ribbons at the top of the book and make three tight knots. Then do the same thing with the other 4 sections of the journal. This is very important because as your book fills up, the pages will get heavy and will pull away from the cover. The ribbons will prevent this and will help keep your book together.

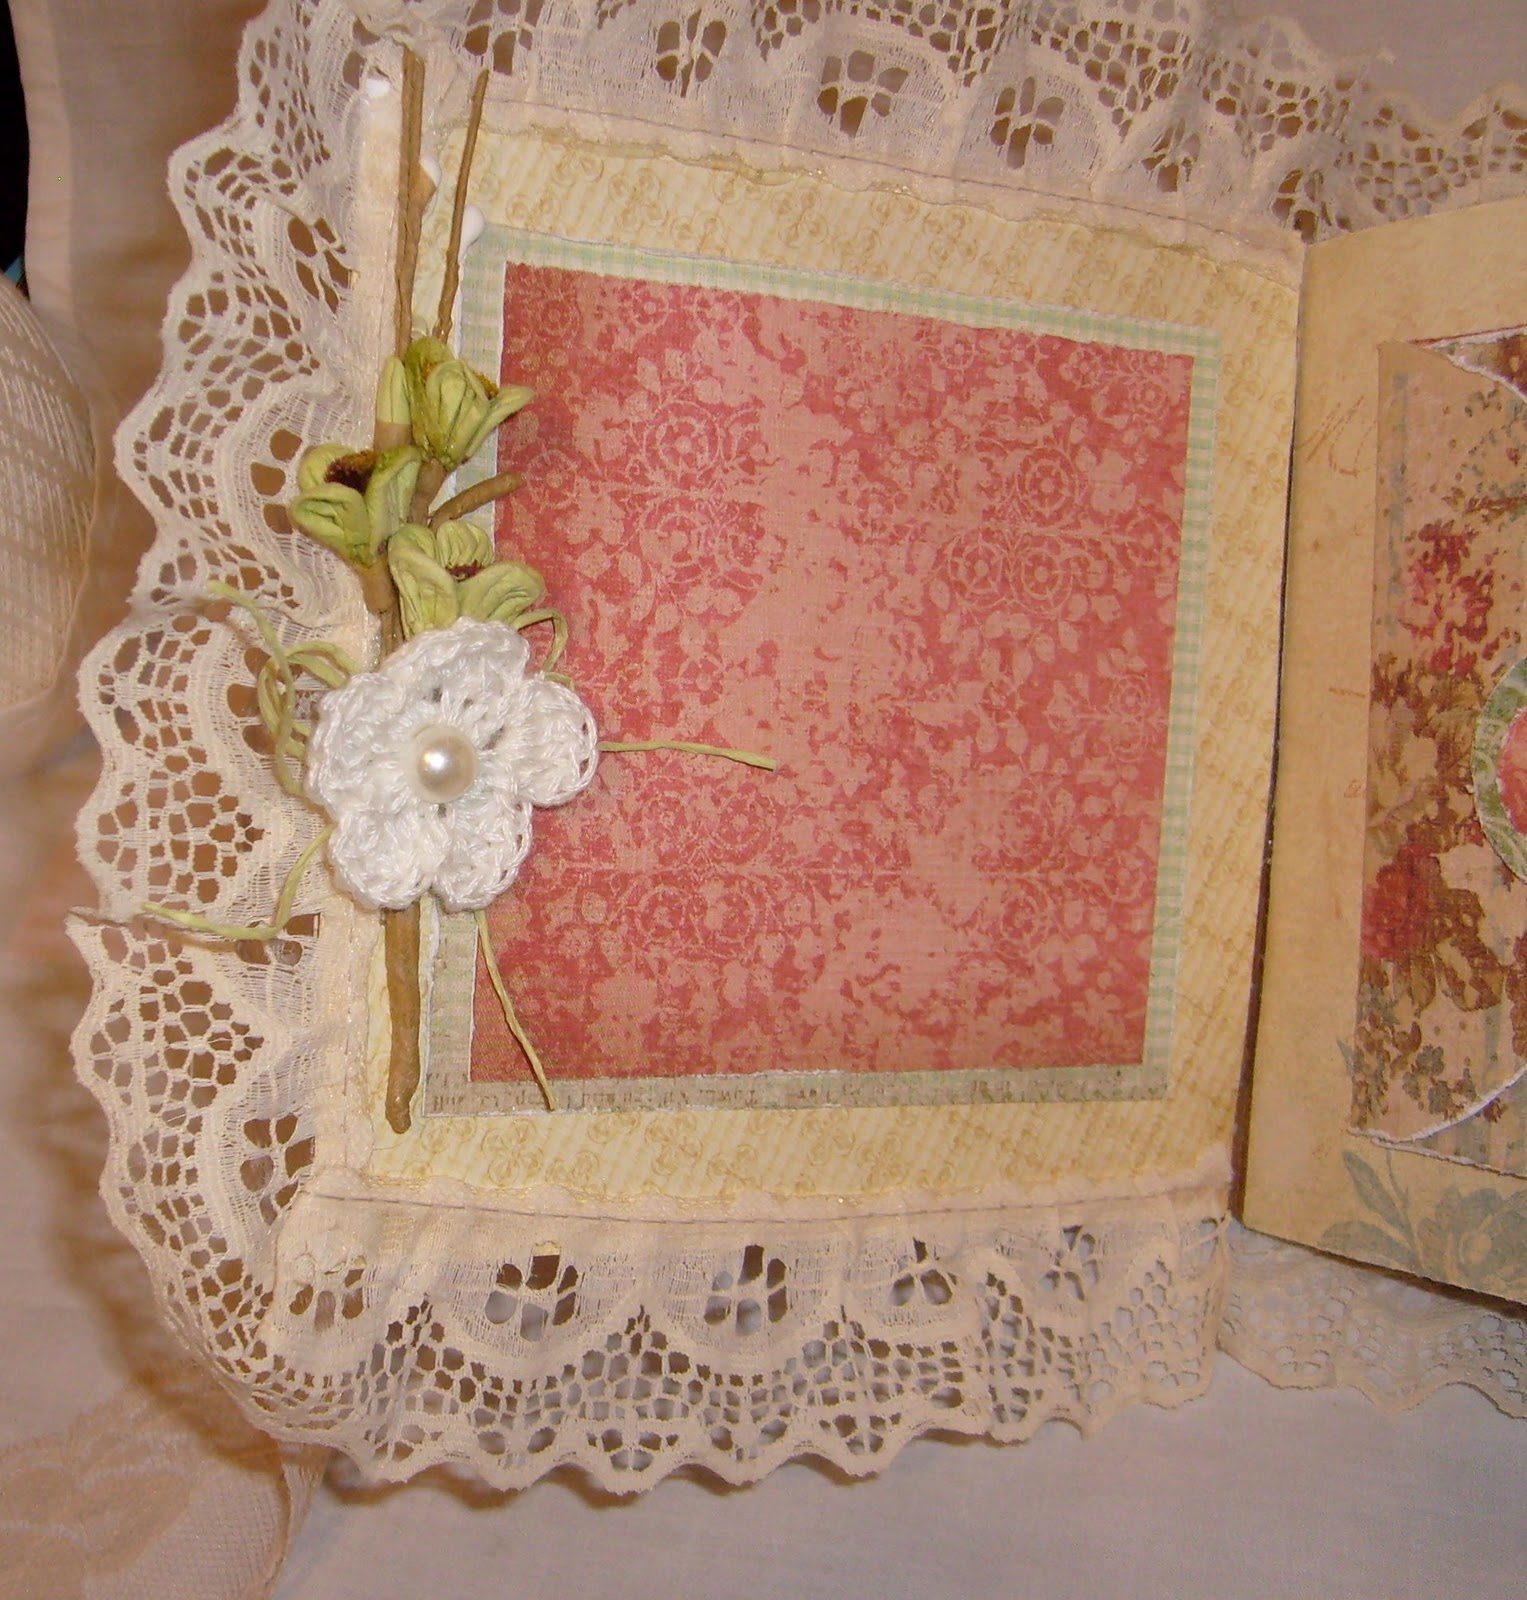
Now it's time to accessorize. You can choose some decorative scrapbook paper and cut it down to fit your pages in your junk journal. Make sure that you leave a little space between the crease and the scrap paper. If you jam it into the crease, it will make it hard to turn the pages in your journal. For my project, I did this to about 20 pages throughout the scrapbook. You can also use newspaper, magazine pages, wrapping paper, and paper bags as well.

Make sure to leave a lot of the pages blank. You want to have a nice mixed of covered and blank pages. You can even color some of your blank pages. I've seen some people rub ink across the pages. Personally, I would recommend color pencils, crayons, or watercolors to color some of the pages. Ink is very, very expensive. To add even more character to your junk journal, rub some color on the ends of the pages. This will give it a cool effect, much like gold coloring on edges of an old Bible. I usually violet and red-orange crayon to tint the edges. I like how those two colors work together. I start with the red-orange then I go over it with violet. However, you can use any color of crayon.

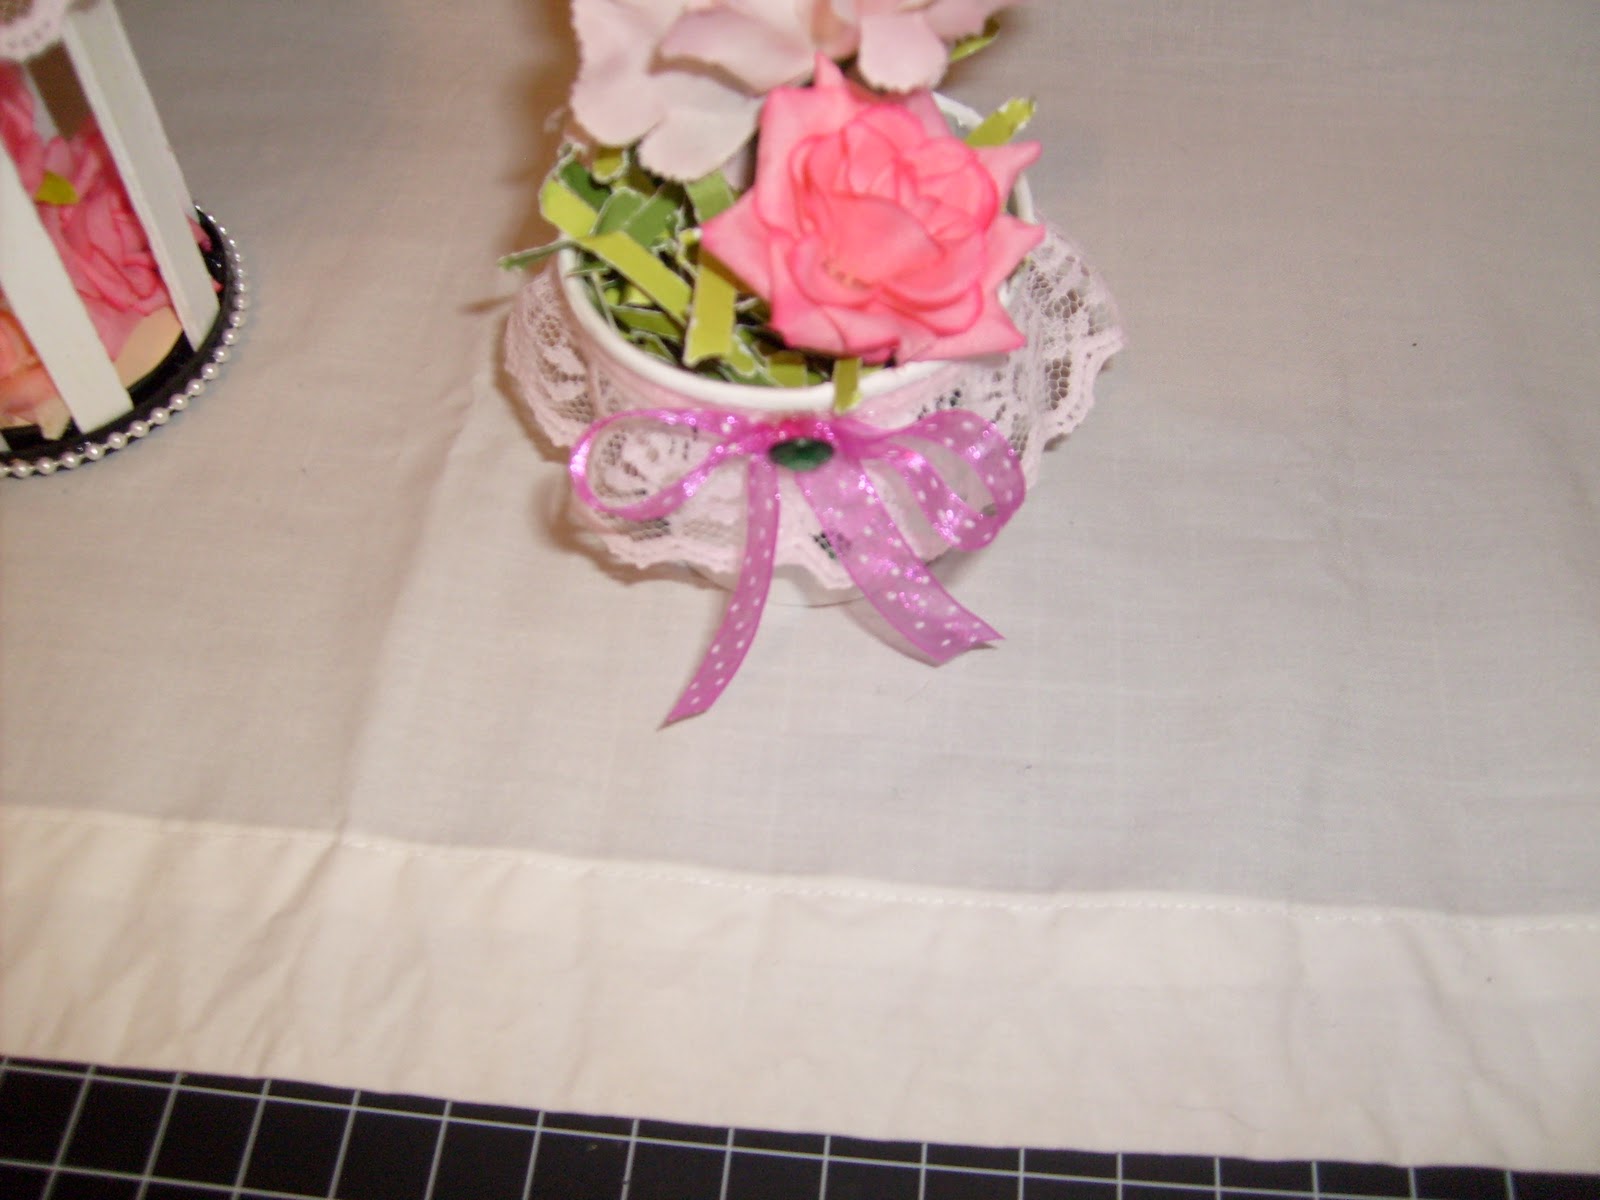
Now, here comes the fun part! You get to fill up your junk journal with anything you like. Add some inexpensive flowers or some lace. It's the time to pull out all those scraps that you have lying around the house. You now have a place to put all of your ephemera. Save all your Christmas and birthday cards! In my junk journal, I save recipes and articles. I love doll collecting but it's very expensive so I take the advertisements for the limited edition collector's dolls and I glue them in my junk journal. I also took the box of one of my favorite perfumes and cut the logo off the front and put that in my journal. I then decorated the page with matching flowers and stickers.

Imagine the value of one of these books a hundred of years from now? It will be a historical reference for future generations. They will know what we did during the 21st century. Like a time capsule, it will display our great love of scrap booking!